 FREE 1 to 3-Day Delivery on Orders $119+ Details
Best Sellers


How to install a Aluminum One Piece Driveshaft - Manual on your 2011-2012 Mustang
Installation Time
2 hours
Tools Required
- Breaker Bar
- 12mm Socket (12 point)
- Rubber Mallet
- Flathead Screw Driver
- Torque Wrench
- Blue or Red Loctite
- Universal joint or a socket extension
- Impact gun helps but is not needed
- Jack/jack stands/ramps

Shop Parts in this Guide
Installation
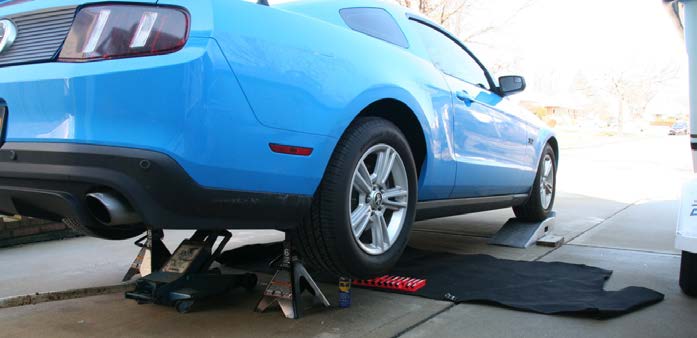
1. Place front and back of car on jack stands. If you have ramps, you can drive the car forward on them and then jack the rear. Make sure you always use jack stands as a safety precaution.
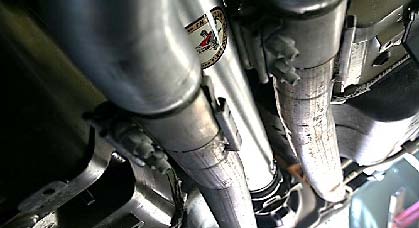
2. Put the car in neutral and leave the emergency brake off. Go under the car and spray the (8) bolts that hold the driveshaft in place with WD-40 or PB Blaster. There are (4) bolts on the transmission side and (4) bolts on the rear end side; only (2) of each will be visible and then you must spin your driveshaft with your hand to get to the other two.
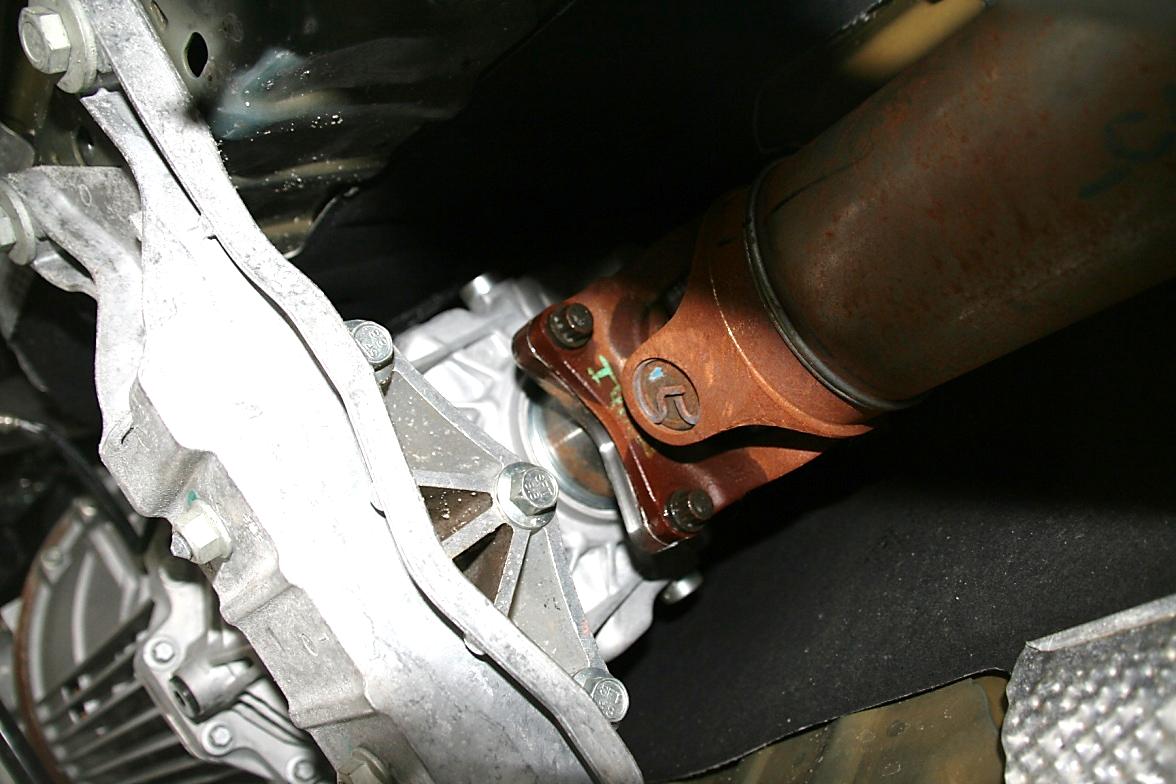
3. Put the car in gear and put the emergency brake on. Go under the car and remove the (4) visible bolts with your breaker bar and 12mm socket. Note: some breaker bar heads will not clear the small space and a universal joint or an extension is necessary to fully remove the bolts.
4. Get out from under the car and take the car out of gear and the emergency brake off. Go under the car and spin the drive shaft so that the other (4) bolts are visible. Go back into the car and put it in gear and the emergency brake on. Go back under the car and remove the last four bolts.
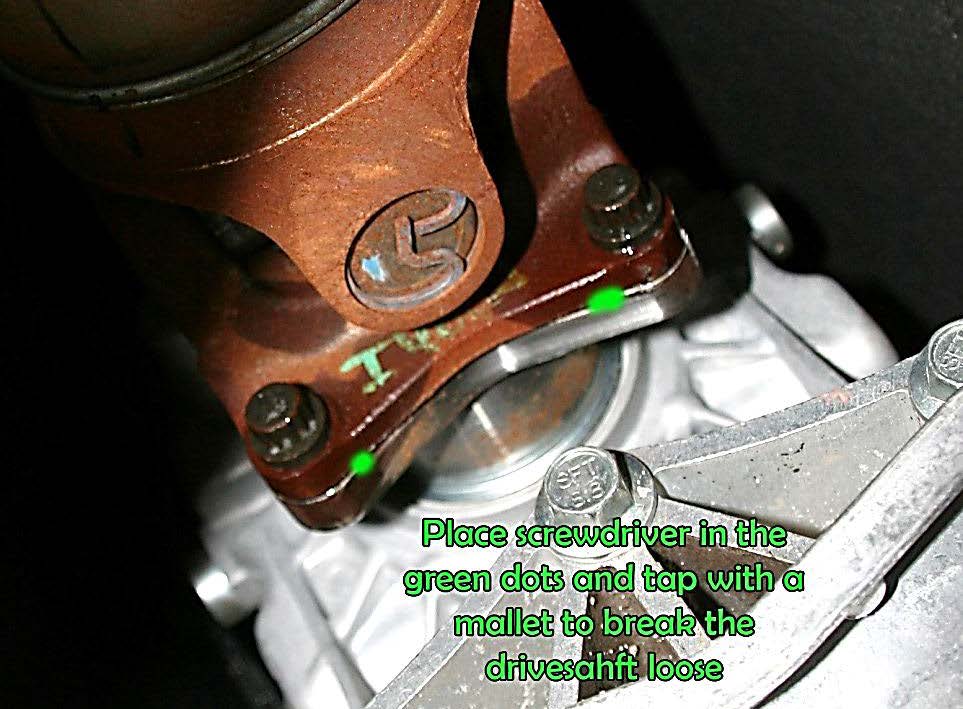
5. Even though there are no bolts holding your stock driveshaft in place now, it may not come out. Take your flat head screw driver and mallet and put the screw driver in between the crease where the driveshaft meets the rear and give it a few taps with the mallet. The driveshaft should break loose. Do the same to the crease on the transmission end. The driveshaft should come loose on that end as well. It is light enough for your exhaust to support it while you get in position to slide it out.
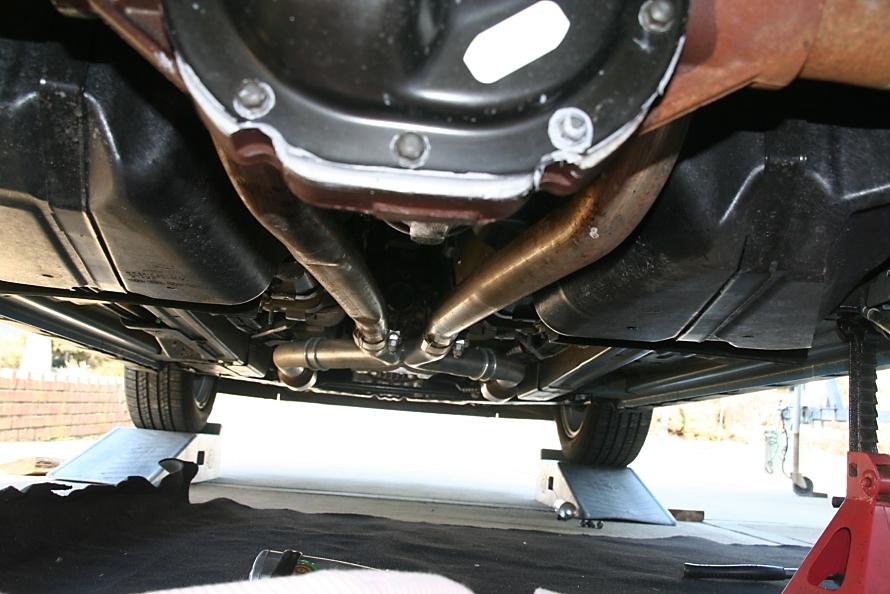
6. Now that your driveshaft is loose, you can now slide it out of the back of the car.
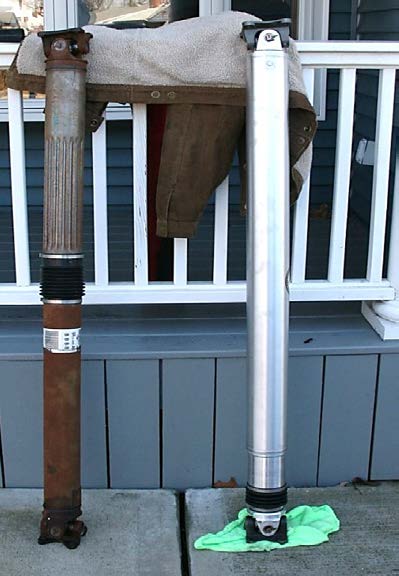
7. Compare the stock driveshaft with the new aluminum driveshaft and notice the weight difference between the two. Take your new aluminum driveshaft and slide it in from the rear. You want the rubber slider part of the driveshaft to be in the rear of the car.
8. Take (4) of the bolts and put Loctite on them. Install them in their place on the transmission and rear-end side of the driveshaft. Torque them down to 75 lbs/ft with your torque wrench.
9. Go back in the car, put the car in neutral and take the e-brake off and spin the driveshaft to expose the other (4) holes. Put car in gear and e-brake on. Repeat Step 8.
10. Clean up all your tools and admire the new driveshaft. Take the car for a spin and it will feel much more refined.
Installation Instructions written by AmericanMuscle customer Ryan Gambardella 3.8.12
